
In this tutorial we will see how to setup a Mplabx project to generate .hex file for Pic16f877a

MPLABx Setup Steps
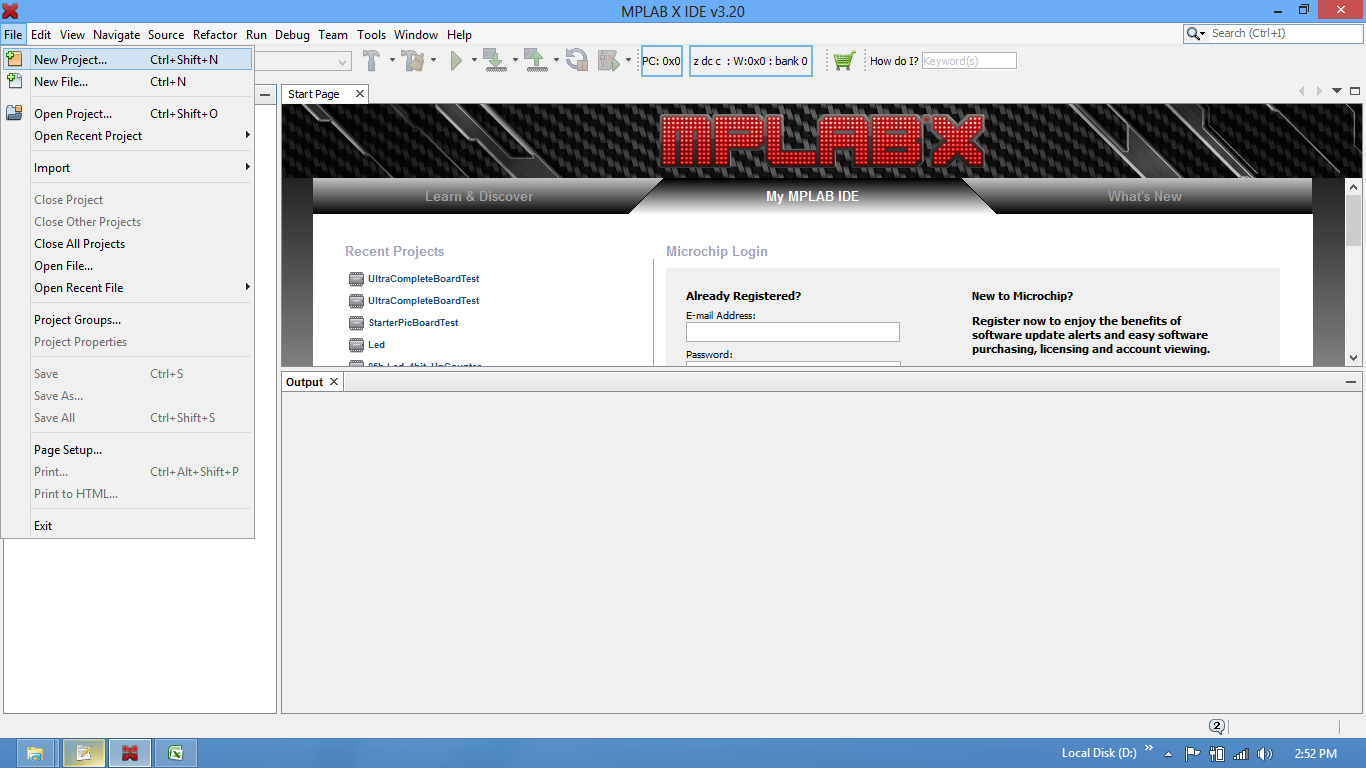
Step1: Open the MPLABx software and select the New project from File Menu as shown below.
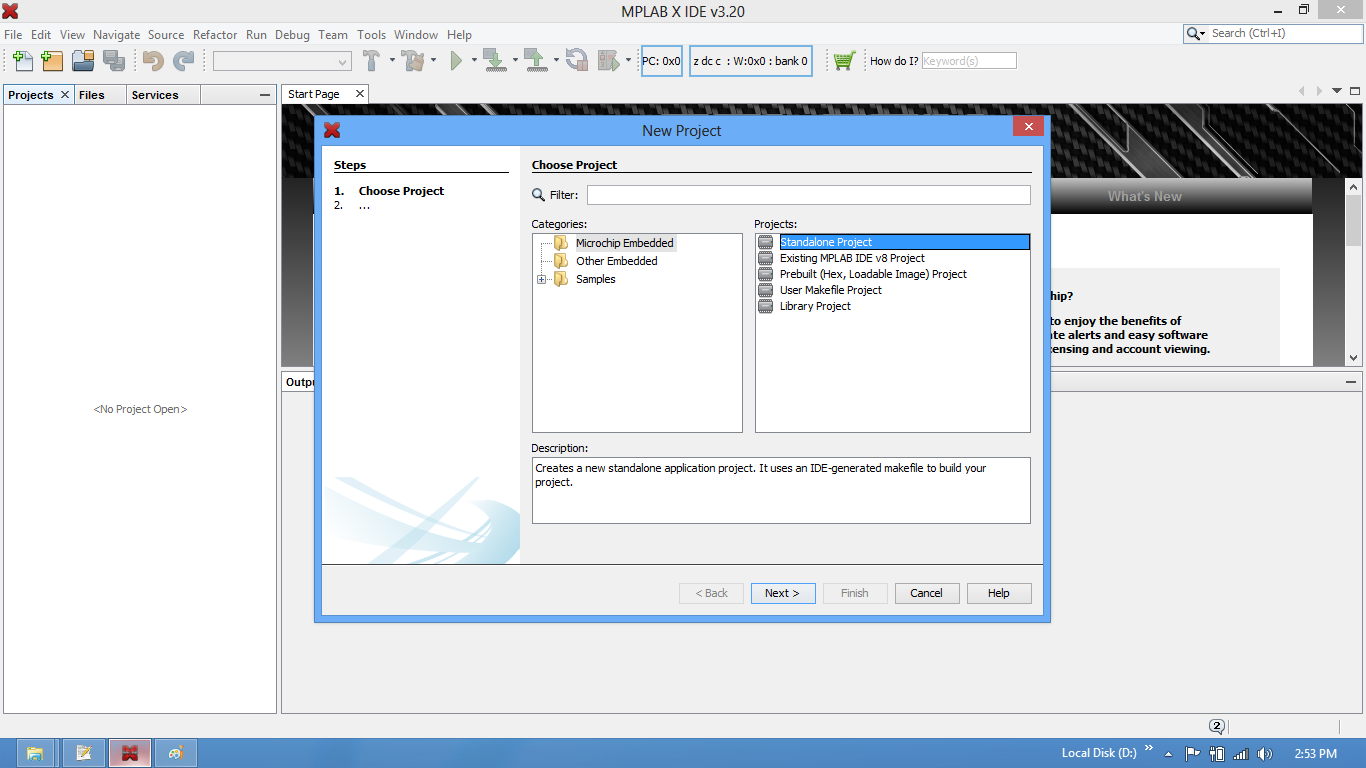
Step2: Select the Standalone option for the project.
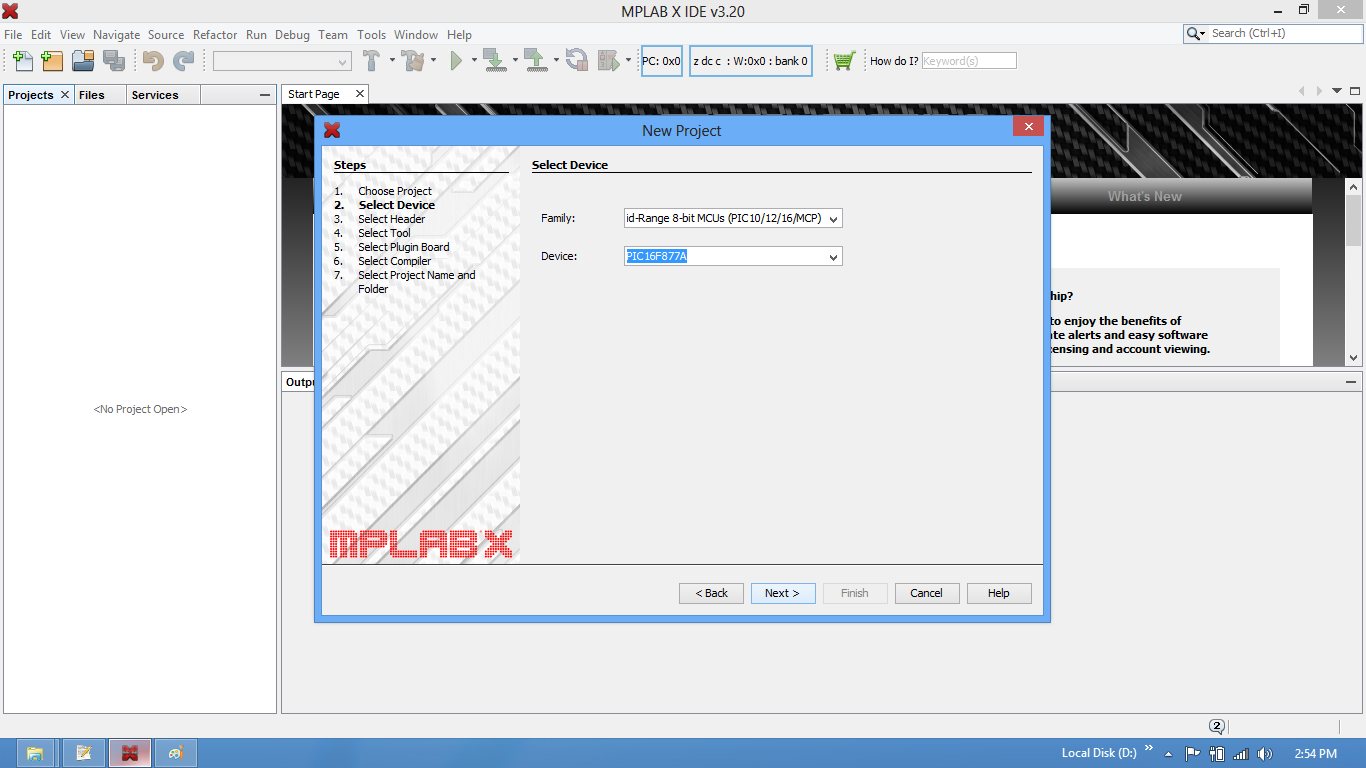
Step3: Choose the Controller(PIC16f877A) from the device drop down.
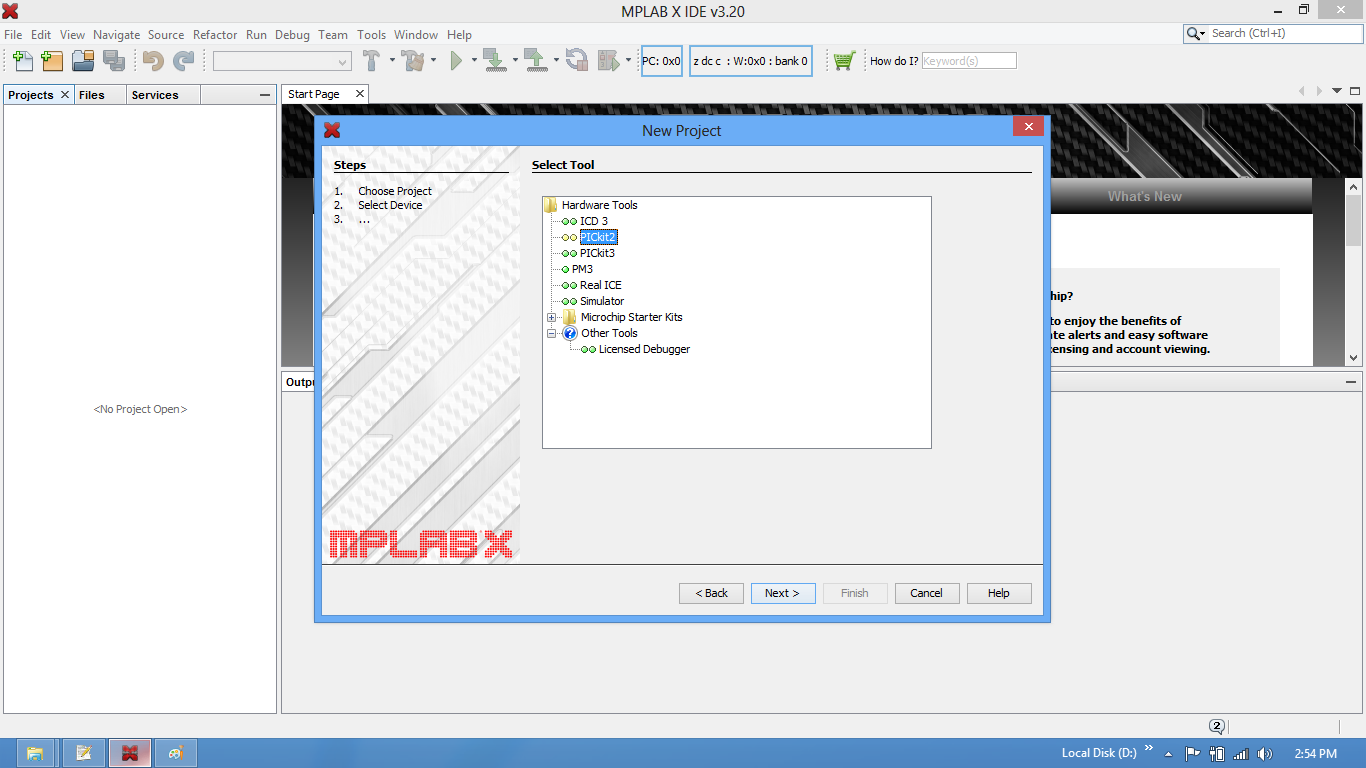
Step4: Select the required programmer. In this case it is Pickit2 or Pickit3.
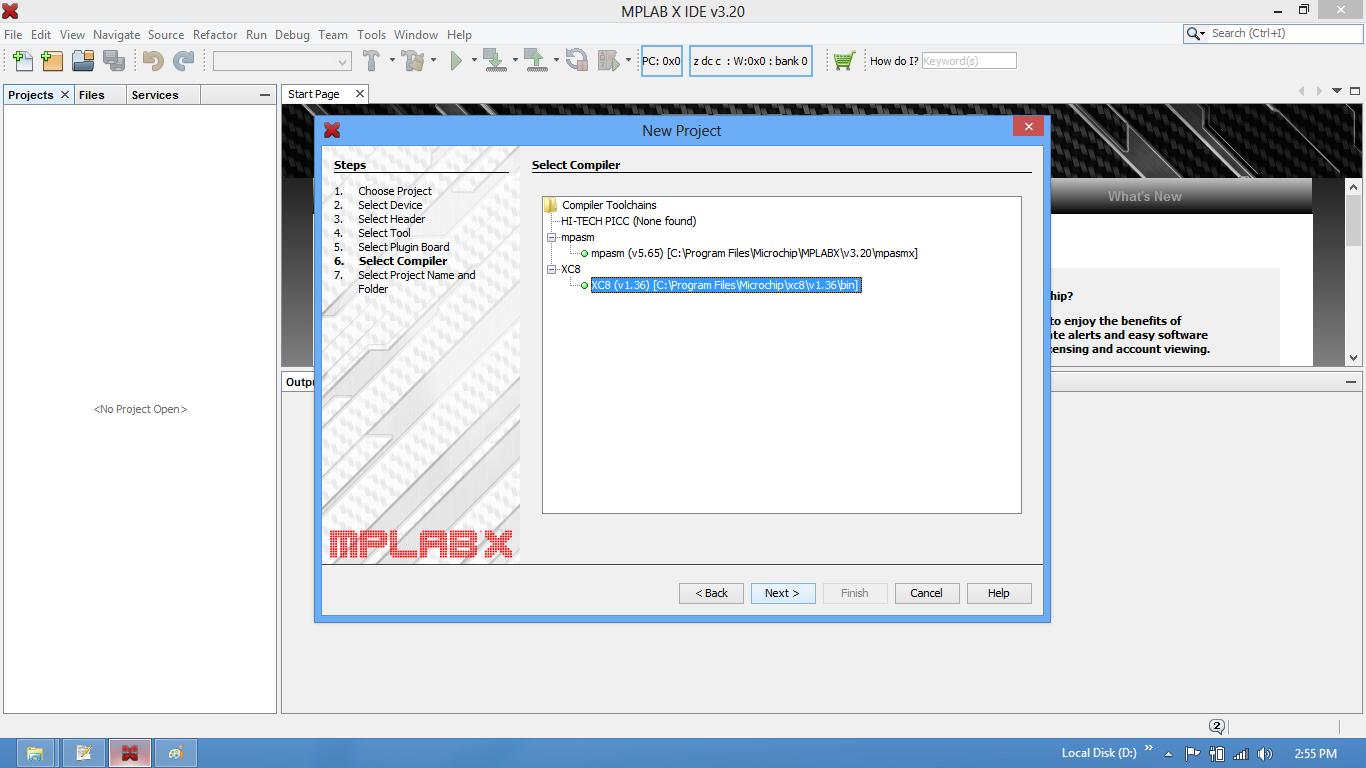
Step5: Choose the xC8/Hitech compiler which ever is installed.
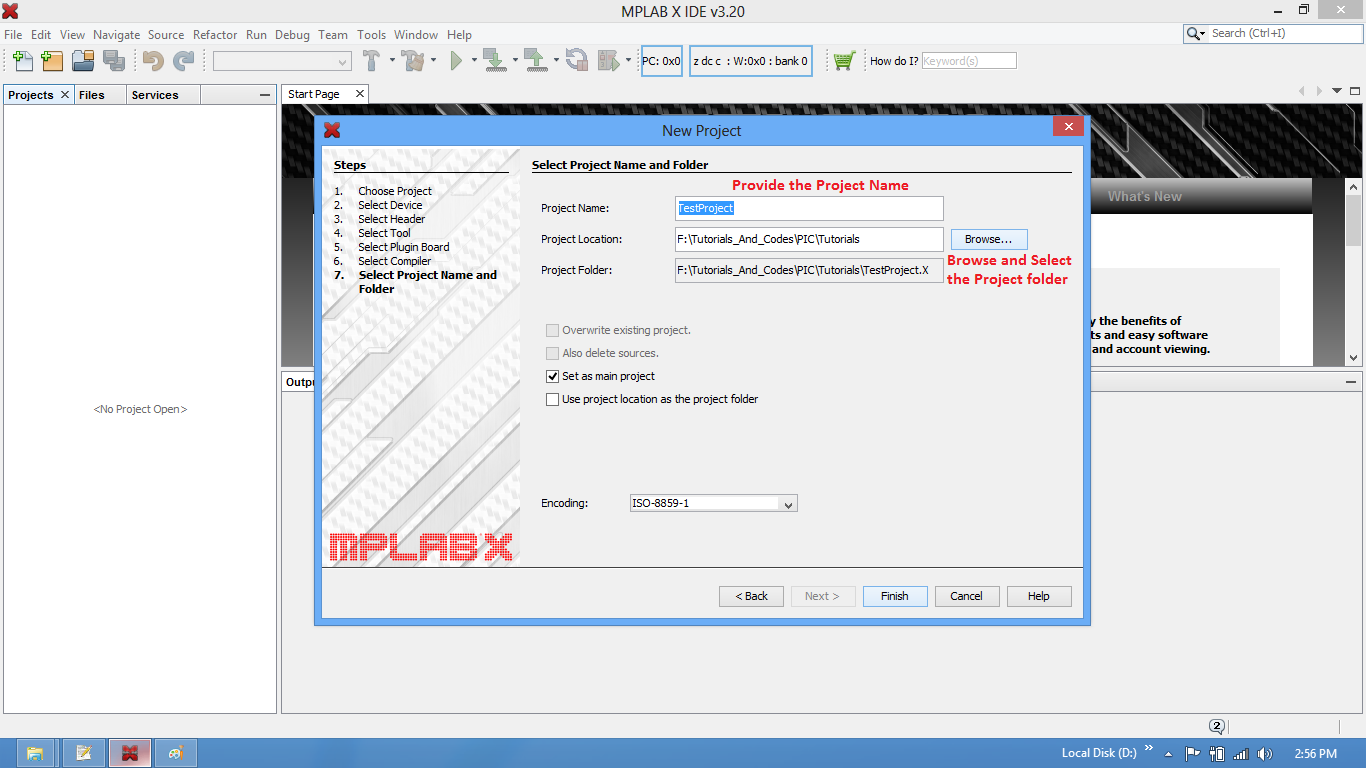
Step6: Provide the project name and project location.
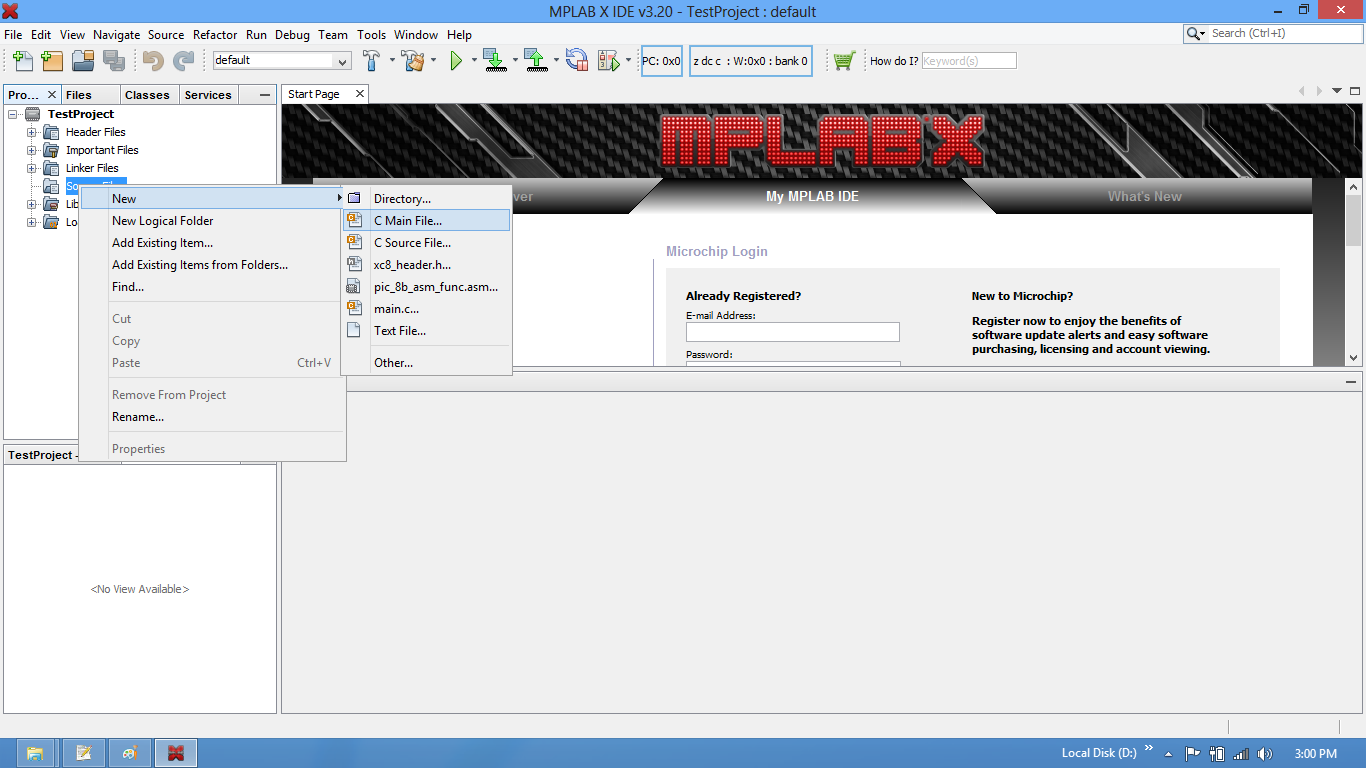
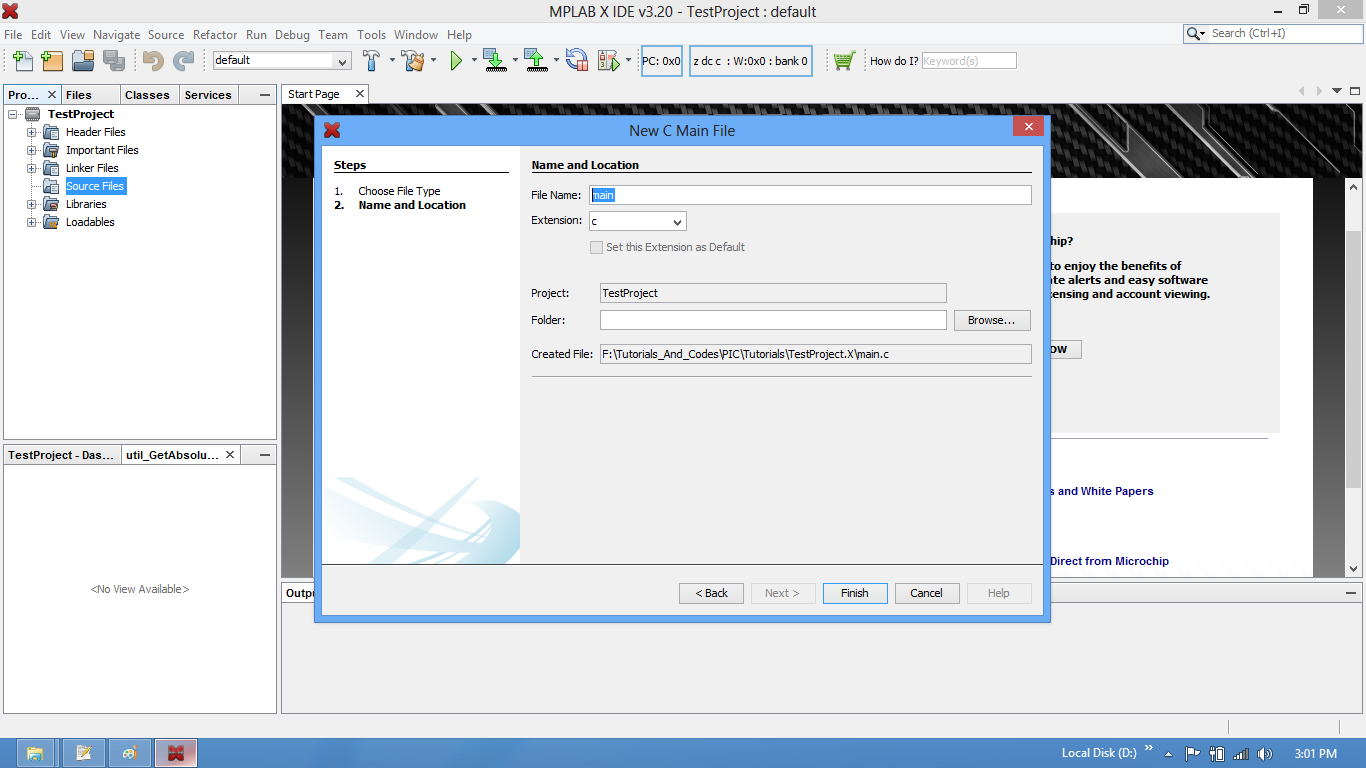
Step7: Now the required project is created. Create a new .c/main.c to write the code.
Step8: Save the file with C extension.
Step9: Type the code or Copy paste the below code snippet and save it
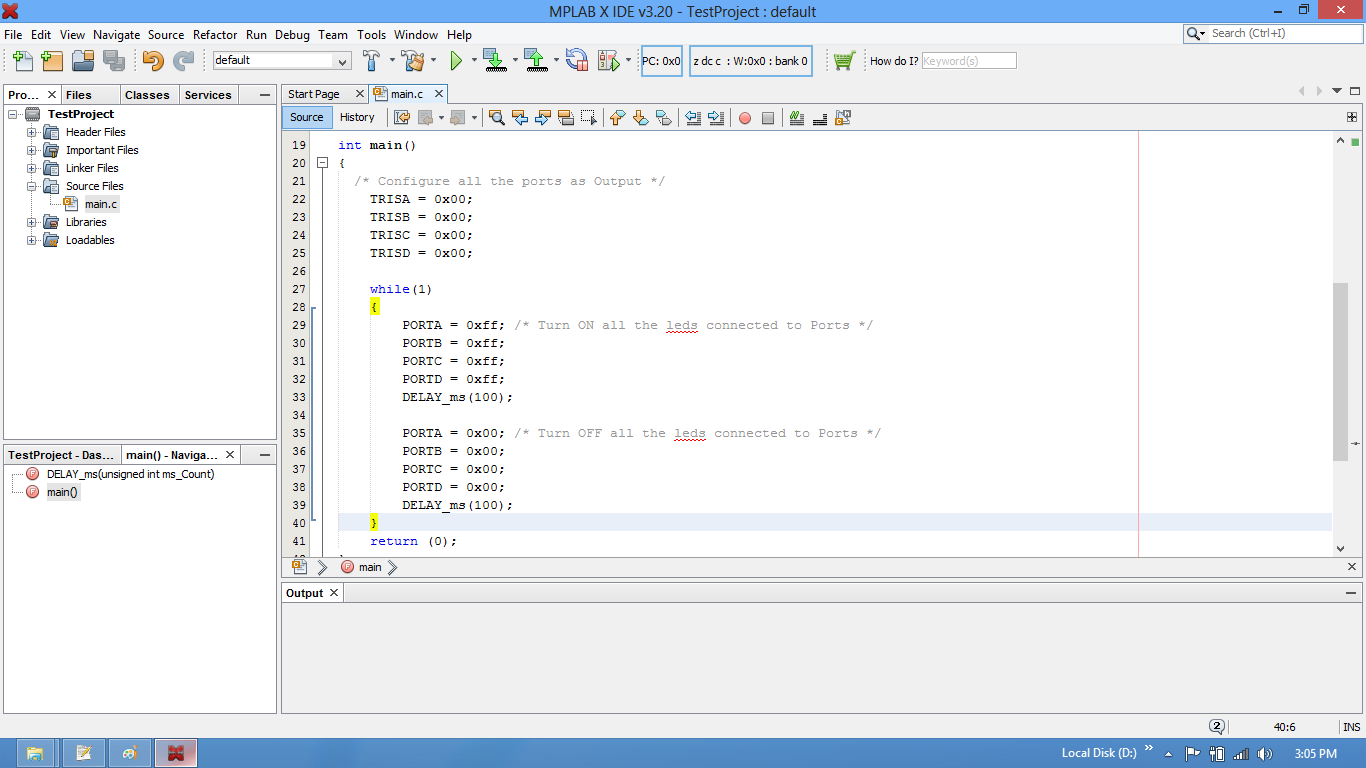
Program:
/* Program By Udaya Prakash Jayaraman */
#include <pic16f877a.h>
void delay(unsigned int k)
{
unsigned int i,j;
for(i=0;i<k;i++)
{
for(j=0;j<1000;j++);
}
}
int main()
{
/* Configure all the ports as Output */
TRISA = 0x00;
TRISB = 0x00;
TRISC = 0x00;
TRISD = 0x00;
while(1)
{
PORTA = 0xff; /* Turn ON all the leds connected to Ports */
PORTB = 0xff;
PORTC = 0xff;
PORTD = 0xff;
delay(100);
PORTA = 0x00; /* Turn OFF all the leds connected to Ports */
PORTB = 0x00;
PORTC = 0x00;
PORTD = 0x00;
delay(100);
}
return (0);
}
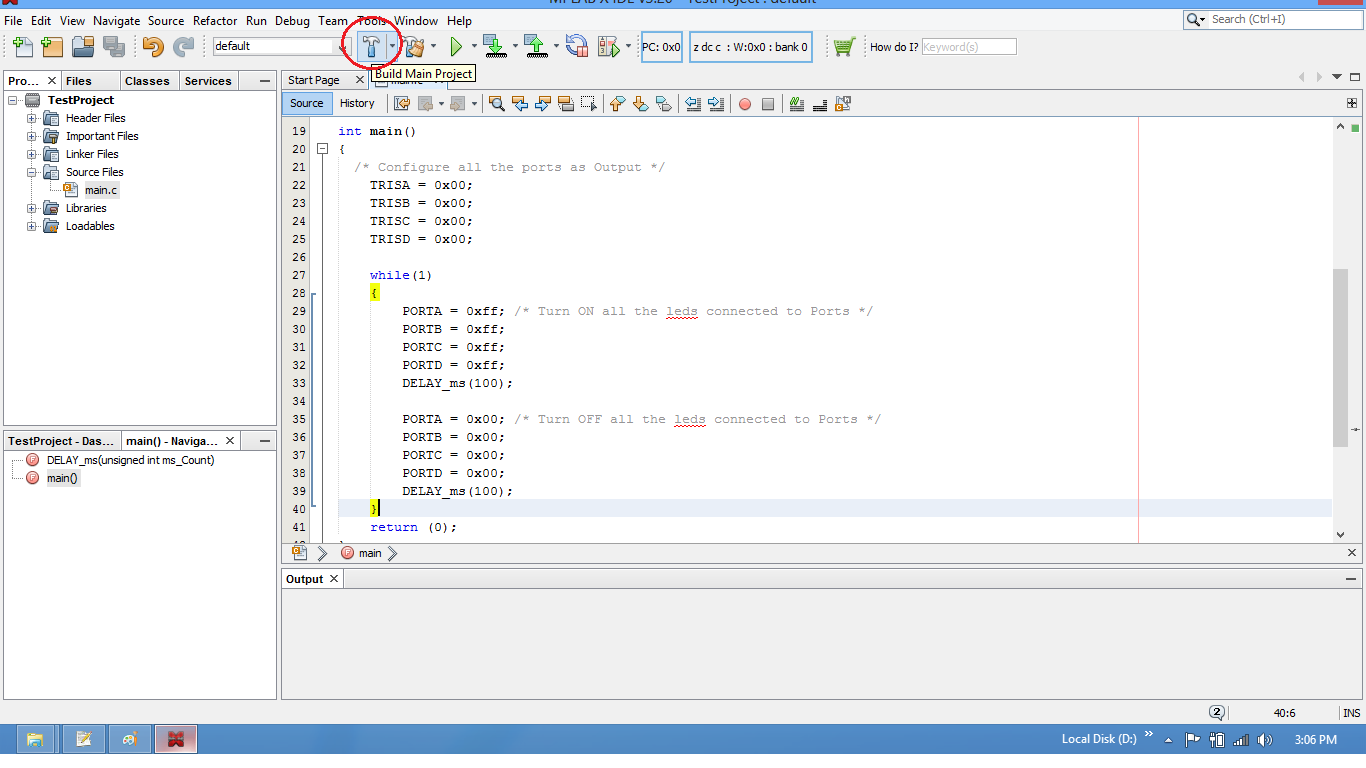
Step10: Build the project and fix the compiler errors/warnings if any.
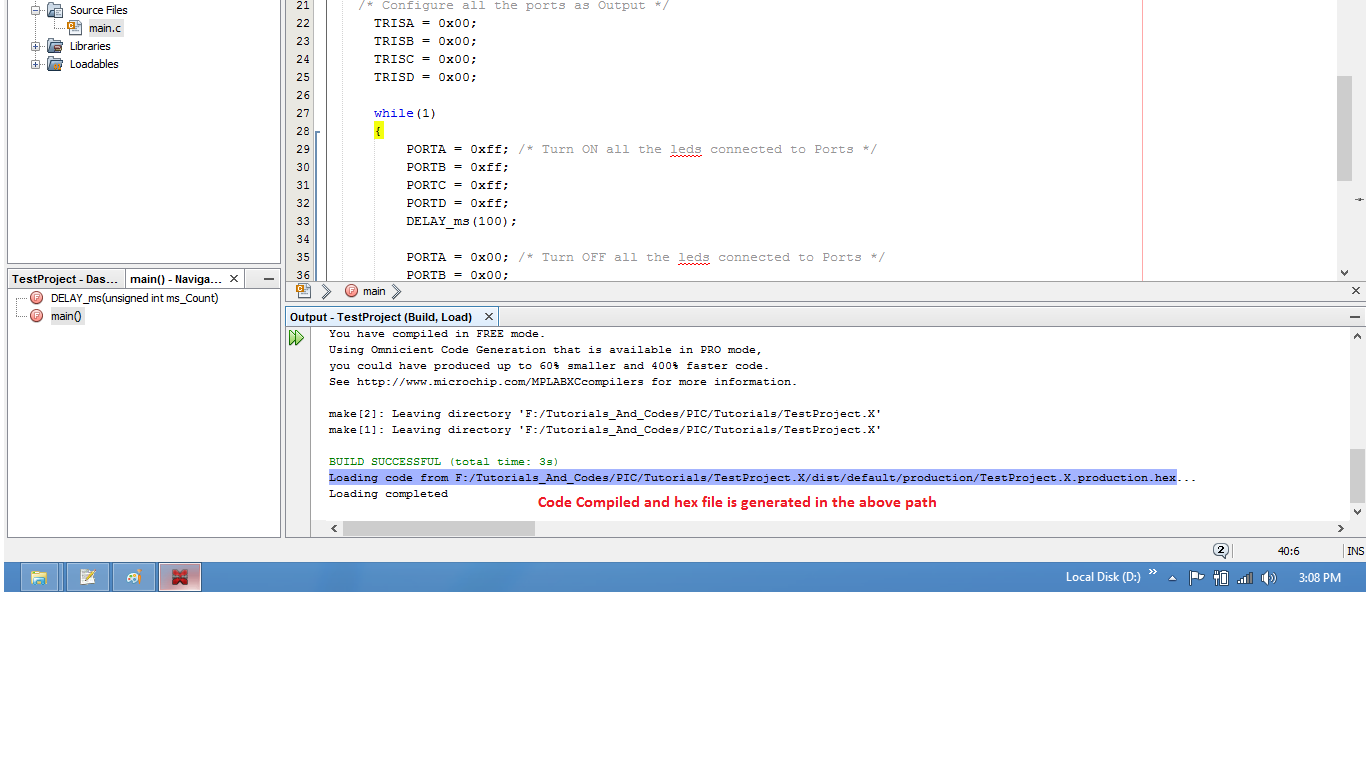
Step11: Code is compiled with no errors. The .hex file is generated.
Step12: Upload program to controller using pickit3
